
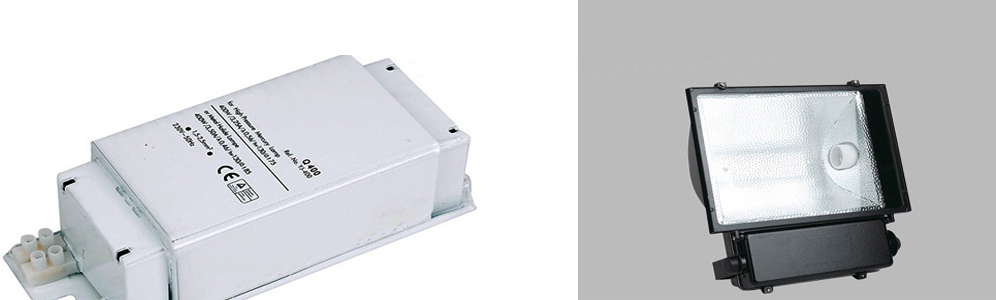

A sodium vapor lamp is a lamp that uses sodium to create light. It can come in a high pressure or low pressure format. High pressure lamps have more components than low pressure and contain other substances such as mercury. The lamp produces a clarity of light that creates vivid color from objects illuminated by it. The tube of a high pressure sodium light is generally made out of aluminium oxide, due to its resistance to the high pressure, and xenon, that is used as a starter for the light because it won't react with the other gases. Voltage runs to the light through a HID ballast, which regulates the current.
James's ballast products represent many years of experience in ballast design and manufacturing. James offers ballasts for all HID lighting sources including standard and pulse start metal halide lamps and high pressure sodium (HPS) lamps.
Step 1 - Remove the Lamp
Remove the lamp. Make sure you turn off all power first to safely remove the lamp from the location.
Step 2 - Visually Inspect the Lamp
Visually inspect the lamp for proper connections and contacts. This will eliminate any visual or connection issues with your high pressure sodium ballast.
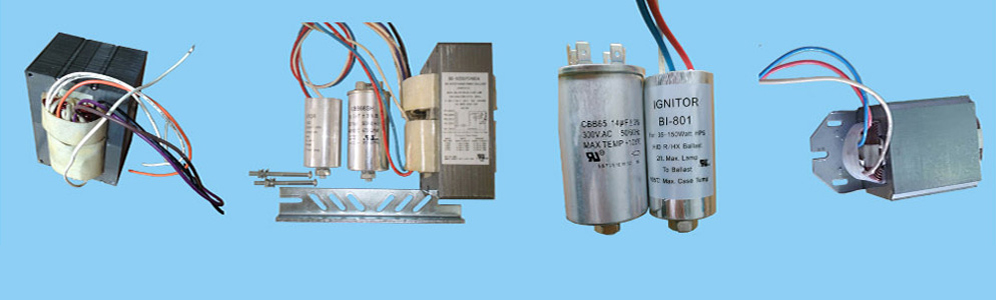
Review the accessories on your lamp. Verify proper type and ratings. Pull out your owner's manual to make sure the accessories are appropriate for your lamp. Generally, you should inspect the choke, the starter and the phase correction capaciter.
Step 4 - Test the Voltage
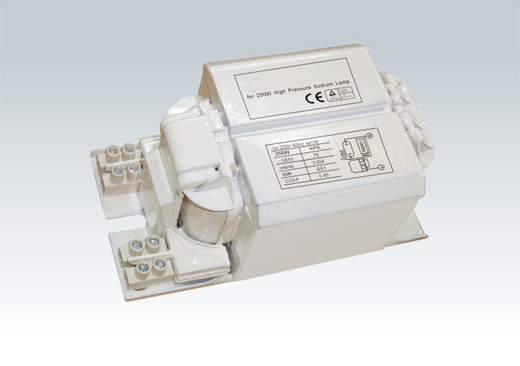
Using your voltage meter, test the voltage. Test the input terminals for each lamp. (Refer to your diagrams. Often you can find the diagram on the ballast or the under belly of the lamp. For reference purposes, transfer the diagram using a pen and piece of paper). Test the ballast input side and then the ballast lamp side. These types of tests can harm your volt meter. Make sure you are using the proper high voltage probe when testing.
Step 5 - Check the Ballast
Remove the starter. Insert a short circuiter into the lamp holder. Now you will need to turn the system on. Your ballast is working correctly if you do not need any signs of smoke or any humming and buzzing sounds. You should perform this test for a minimum of 1 to 2 minutes.
Step 6 - Check the Short-Circuit Current
Pull out the AC ammeter and check the short circuit current of the ballast. During the test, the fuse should resist the short circuit current. During the test, also check the choke type and rating used. It must be appropriate for the ballast. If during the test you find the fuse blown, then you know that there is a short in the ballast.
Step 7 - Reassemble
If everything tests out perfectly, reassemble the ballast and the lamp or lamp cover. Place your lamp back in the original housing and turn the electricity back on.
Metal Halide Ballasts | High Pressure Sodium Ballasts | Fluorescent ballasts | Gear Tray
Links: Porcelain lamp socket | Mercury Vapor Ballast | Light bulb socket
Xml Copyright: @2012-2020 James Lighting Electronic Co.,Ltd

 EMAIL US
 SKYPE
SKYPE